as some of you know i am the admin of another old school bmx site, well in truth its basically dead and so i thought i would bring over some of the more interesting threads we had over there and let RAD members have the benefit of them. this one was sent to us from across the pond.
Well, I've tried just about every technique imaginable to "shiny side" rims, and I've finally figured out the fastest method that gets the best results. Figured I would share my experience with everyone else.
Okay.... here we go:
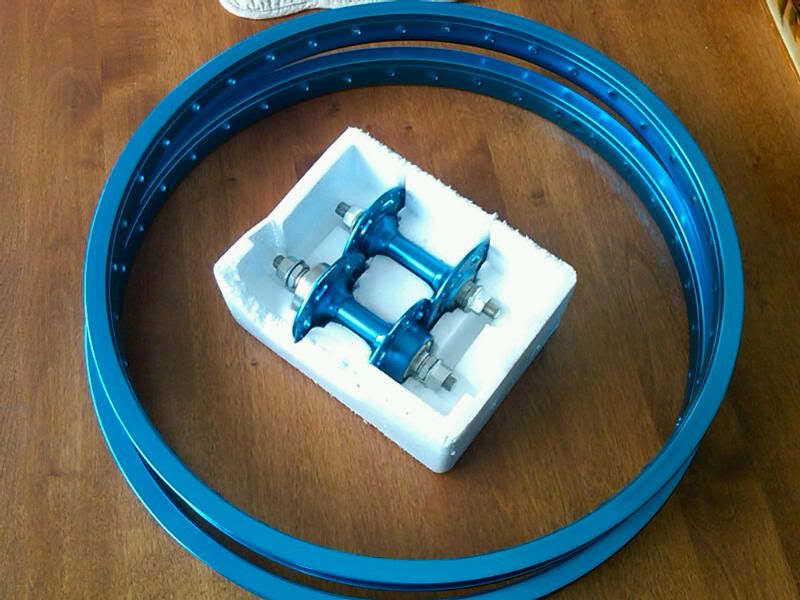
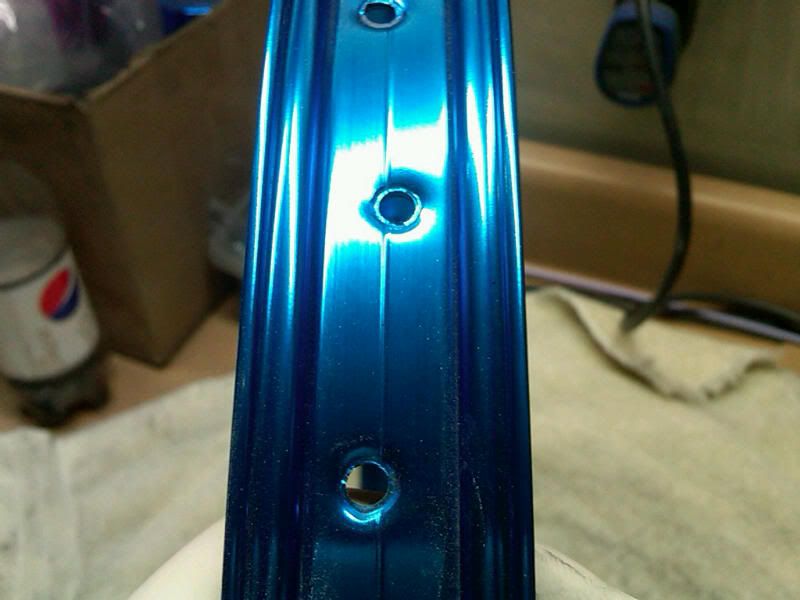
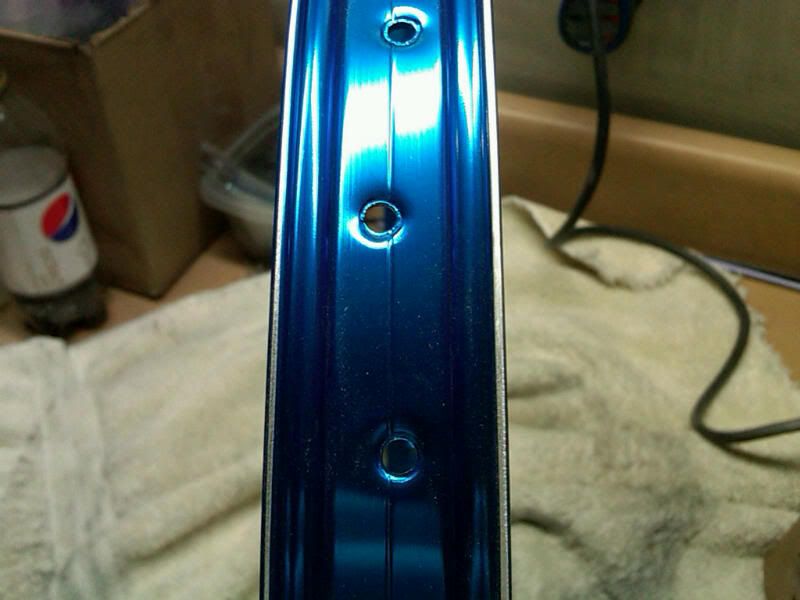
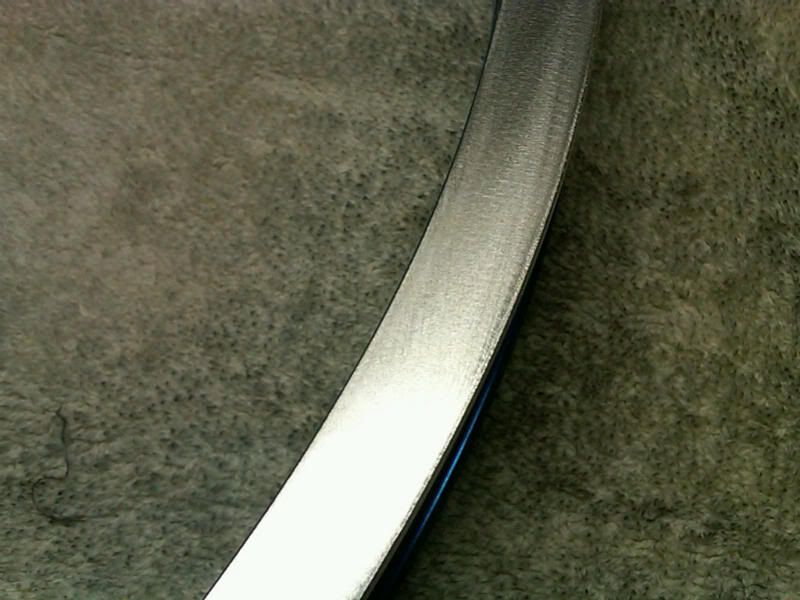
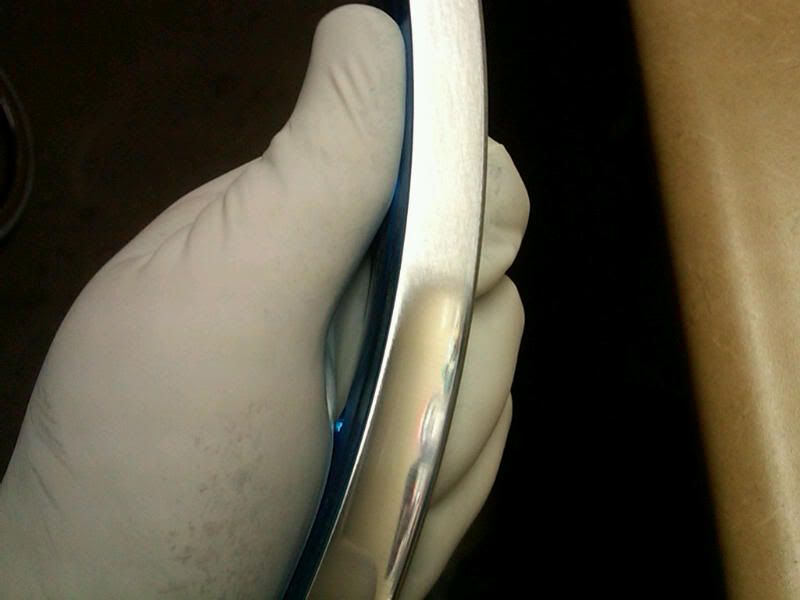
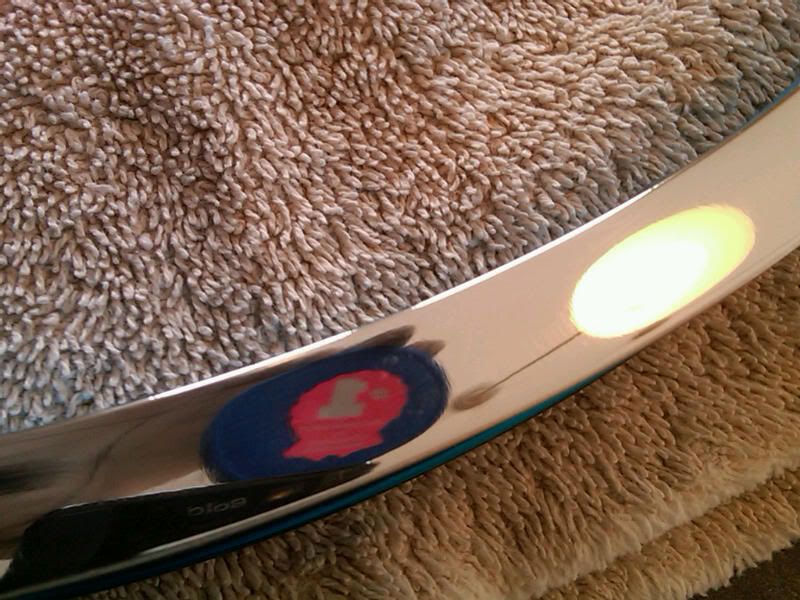
Here's what I'm staring with - NOS Kt blue ano hubs, New blue ano rims and new spokes and nipples (not pictured) from Justin.
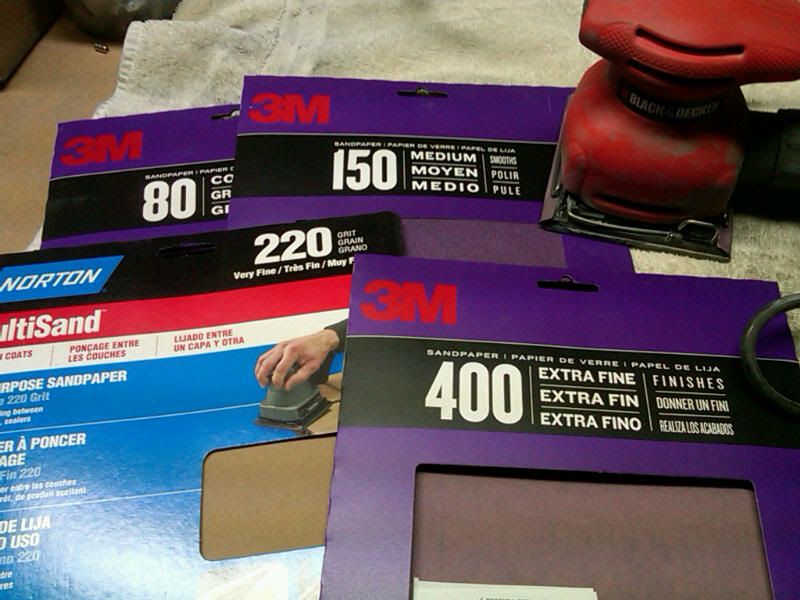
And here's what you'll need:
1. Sand paper and a palm sander. I use 80 grit, 150 grit, 220 grit and 400 grit:
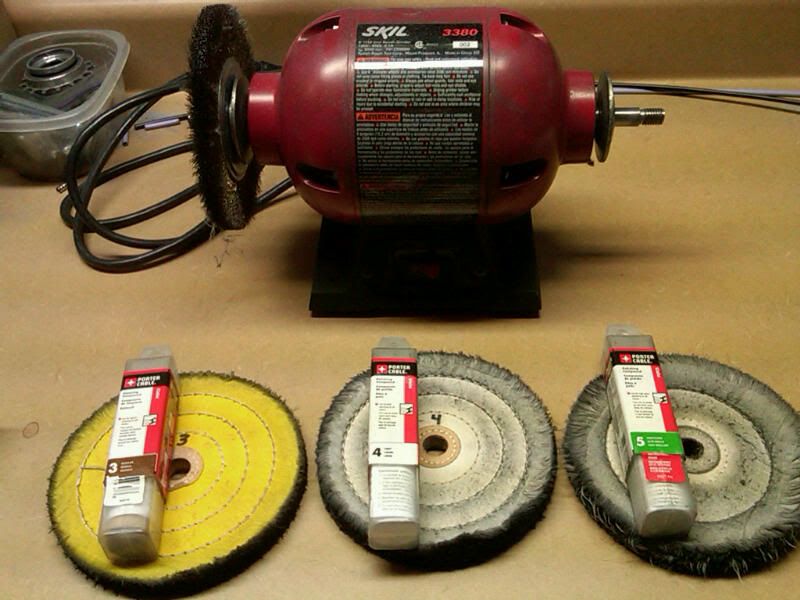
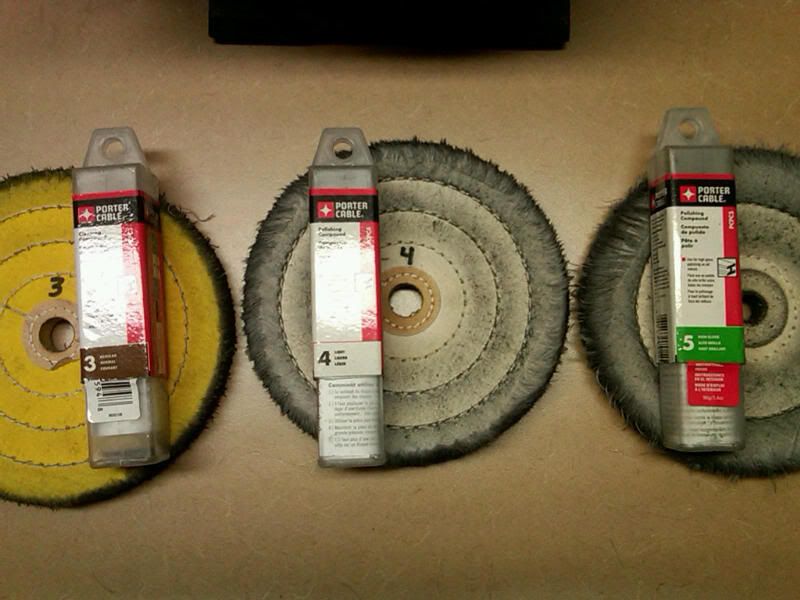
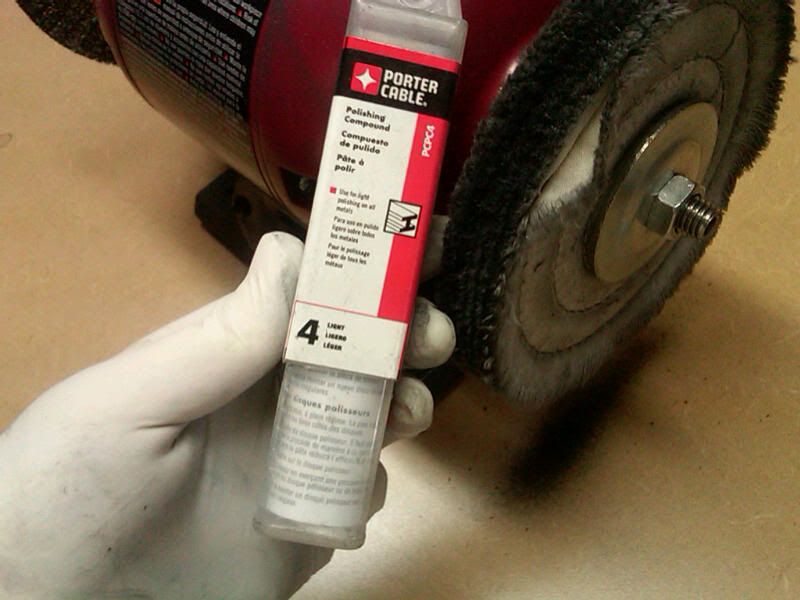
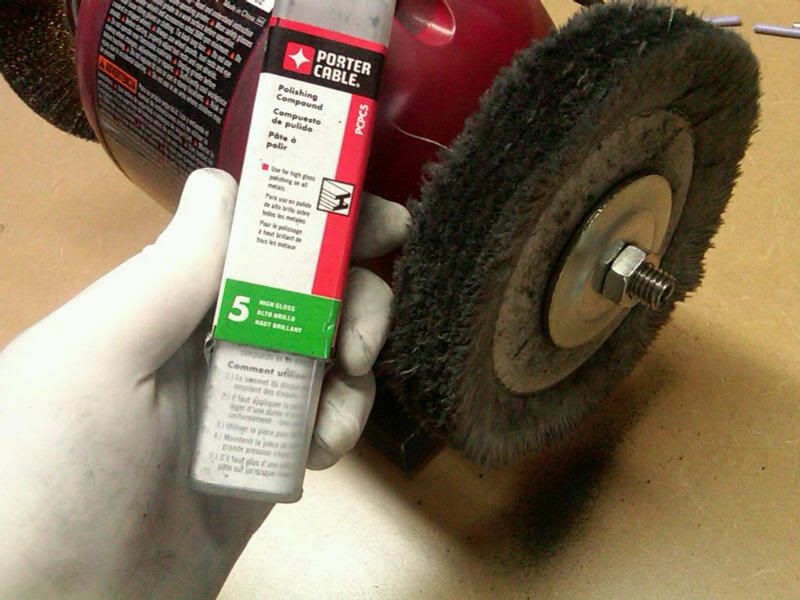
2. Bench grinder with buffing wheels. I use porter cable polishing compound and 3 different wheels (one for each grade):
And here's the steps I use to make them shine like mirrors:
Step 1: Quick "once-around" with 80 grit paper with the palm sander. It took about 5 minutes per side to knock off the ano at the edges. Rims are actually a little concave, so a quick "once around" will leave a nice strip of ano "untouched" in the center of the side-walls:

Step 2: Finish sanding all the ano off with 80 grit paper. It took about 25 minutes per side to knock off the material at the edges and get the side walls completely flat in order to remove the ano strip down the center. Make sure you remove ALL of the ano at this stage. Even when the color is gone, it'll still look a little shinier where the ano was. Keep sanding until every trace of ano is gone and the side-walls have a uniform color (no shiny lines where the ano was):
Step 3: Sand both sides with 150 grit paper on the palm sander. Since the side walls are already flat, this took about 3 minutes per side. It now looks like this:
Step 4: Sand both sides with 220 grit paper. Again, only about 3 minustes per side:
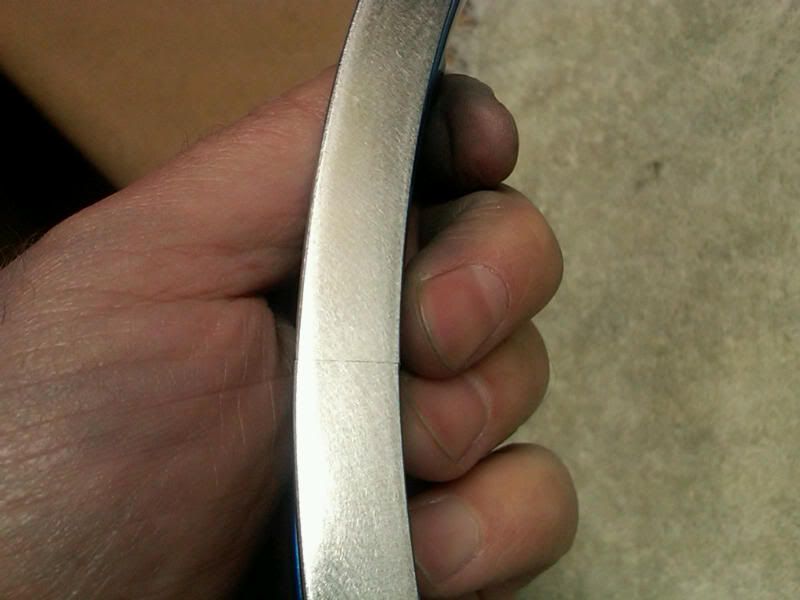
Step 5: Sand the "lips" of the rim with 220 grit paper on the palm sander to remove the ano from the edges:
Before:
Step 6: Sand the beveled edge of the rim with 220 grit paper on the palm sander:
Before:
During (note the palm sander is held at a 45 degree angle to the rim to hit the beveled edge):
after.
Step 7: Sand the side walls with 400 grit paper. About 3 minutes per side should get it looking like this:
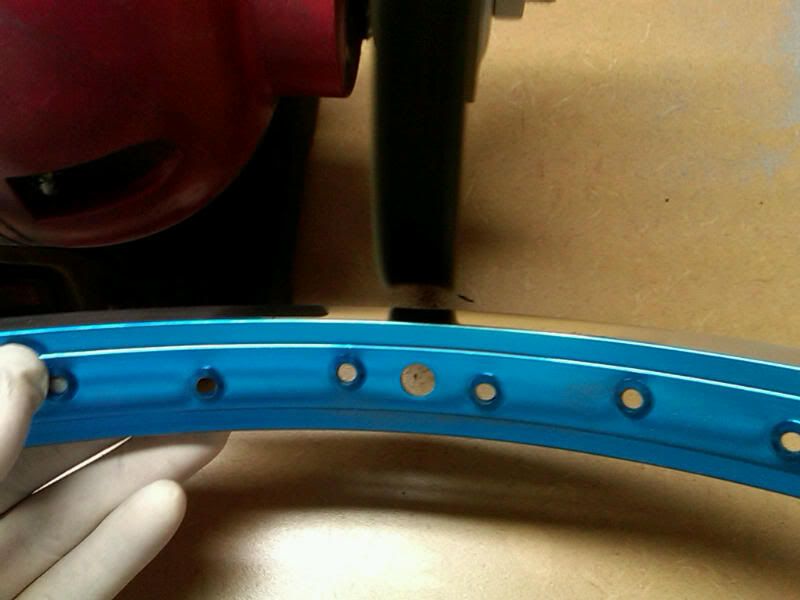
Okay, sanding is complete, and it took about an hour or so to do both sides of one rim. Now it's time to go to the wheel. I was running out of time, so I just did about a three inch section so you can see the process.
Step 8: Hold the rim with the side wall perpendicular to the wheel and buff with #3 polishing compound. I usually start at the seam, and let the top of the rim rest against my chest. For the first pass around the rim, I "bob" the rim up and down slightly so I'm pulling the side wall againt the direction the wheel spins. This is referred to as "cutting" action, and it actually removes a a tiny bit of material, which will remove all of the scratches from sanding. After that pass, I hold the rim level (with the top still resting against y chest) and just move slowly clockwise until I make it all the way around the rim. When you're done with the second pass, wipe the side wall down with Charmin toilet paper (red package - see words of caution below), and then inspect the rim for any remaining sanding marks. If you see any, repeat the process on those sections until they are completely gone. This is important - if you don't remove the sanding marks at this stage, they wont come out later. Since I was only doing a small section to illustrate the process, it only took about 15 seconds to hit the one spot in the pic below. But plan on about 15 minutes per side, and it is important to remove all signs of sanding during this stage. I usually reload the wheel with compound before starting each side. And when I say "reload", I mean hold the polishing compound stick lightly against the wheel for maybe three seconds.
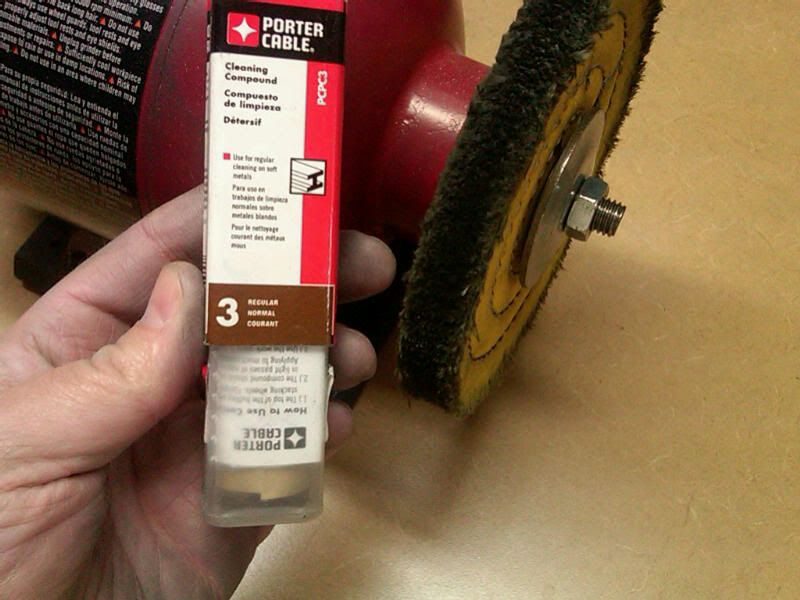
Step 9: Change the buffing wheel and buff with #4 compound. Since you've removed all signs of sanding in the previous step, this step is quick. And there's no reason to "bob" the rim duing this stage, because #4 compound does not have any cutting action (or if it does, it's minimal). Just hold the rim level (with the top resting against your chest) and move in one direction until you've made it all the way around. Plan on maybe 3-5 minutes per side, and I usually gently reload the wheel with compound before starting each side and once when I'm half way around. When you're done, wipe with red Charmin again and inspect. You shouldn't have to hit any spots again, but if you notice scratches the you missed in step 8, back up to #3 compound, hit those spots again, then repeat step 9 on those sections.

Step 10: Change the wheel again and buff with #5 compund. Again, no "bobbing" during this stage, since there is absolutely no cutting action with #5 compound. Since this is the final stage, you want to make sure you get good results, so plan on about 10 minutes per side. During this stage, I usually reload the wheel before starting each side and then again when I get about 1/4 around the rim (so a total of 4 times per side):
Step 11: Hand polish with Blue Magic and red Charmin toliet paper to remove any excess polishing compound. This wont really make it any more shiny, but it will help to get a "consistent" shine all the way around the rim.
That's it. Shiny as a mirror! big_smile Total time per rim is about 2 hours.
A couple words of caution:
1. If you get too much compund in the wheel, it'll leave black "scratches" on the rim while the wheel is spinning over the rim, and they'll be hard to remove with the normal buffing action. If you stop the wheel and rub the black away with red Charmin, you'll notice that they actually leave scratches in the side wall itself. This is due to compound build-up in the wheel. If this happens, it's time to clean out the wheel. You can use a tool called a "wheel rake" to remove the excess compound, or you can do what I do - stick the teeth of an old chainring in the wheel while it's spinning and move it left-to-right a few times. This will clean out the gunk and leave the wheel nice and soft again. Then just reload with compound and hit those spots again.
2. DO NOT USE PAPER TOWEL between buffing steps - it'll leave scratches in the side walls. I ONLY use Charmin toilet paper in the red package. Avoid paper towel at all cost, otherwise you'll have to go backwards and use a courser compound to remove the scratches.
3. Clean all the dust and debris off the rim when your done with Charmin toilet paper.
4. You can use the same technique on a BUILT wheel, but it'll probably take a little longer to sand since you cant lay it completely flat while sanding. So sanding may take a little longer, but the buffing shouldn't take any longer.
5. This is an extremely "messy" process. The entire area that you are working in will be covered in black filth (including yourself). And since the wheel spins towards you, it'll be spitting black gunk right in your face and chest the entire time. Not enough to need safety glasses, but you'll look like you just walked out of a chimney by the time your done. So, cover or remove anything that you dont want covered in black filth, and leave time for cleanup and plan for a long hot shower when you're done. I have kids, so I wear disposable gloves while I'm working, so I can peel them off and go attend to them if needed. Plus, I get tired of scrubbing black gunk from under my fingernails.
I hope this helps people. I have used just about every technique you can think of, and all of them took longer and yielded inferior results.
Good luck!
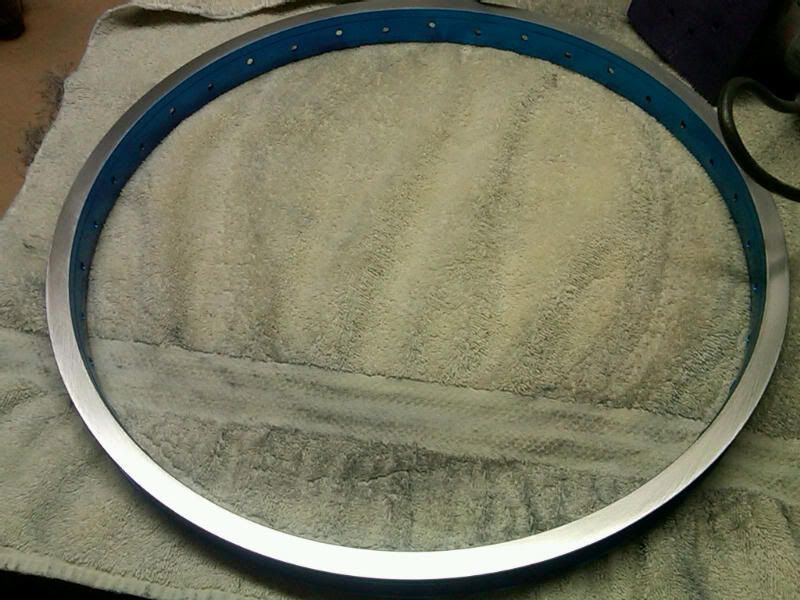
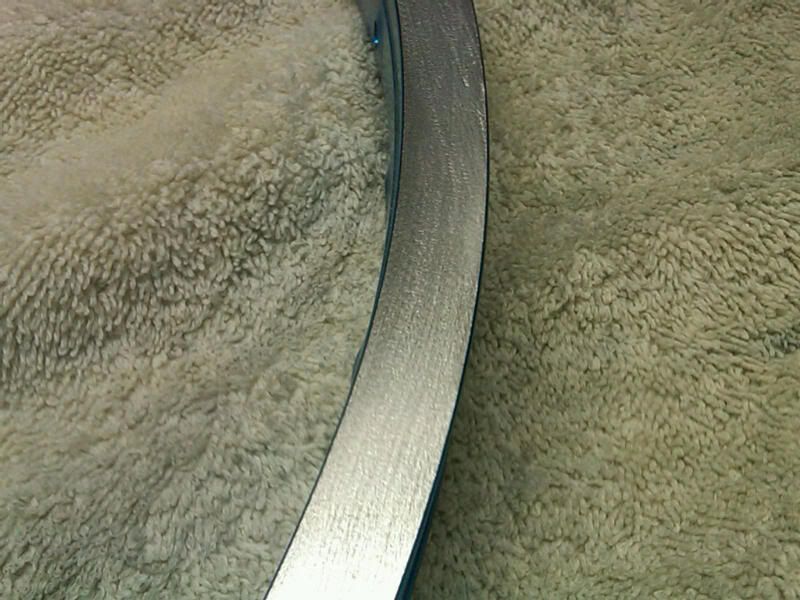
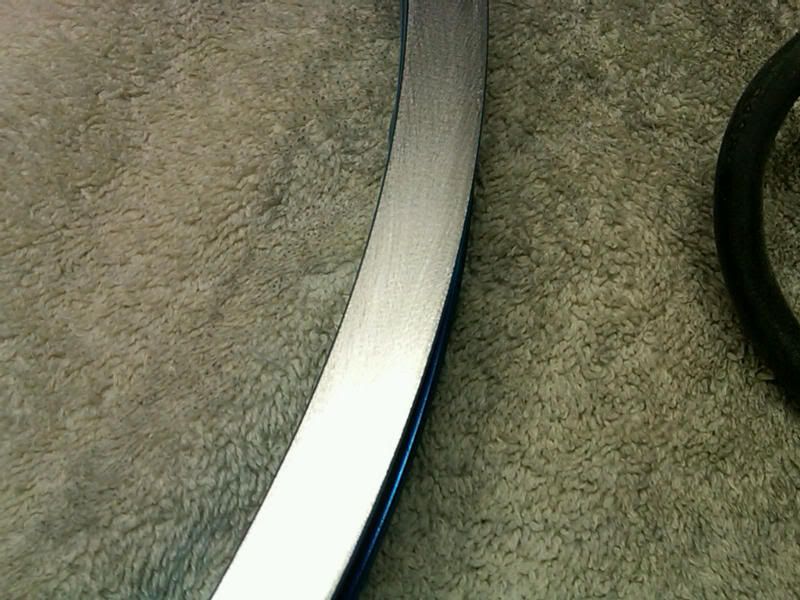
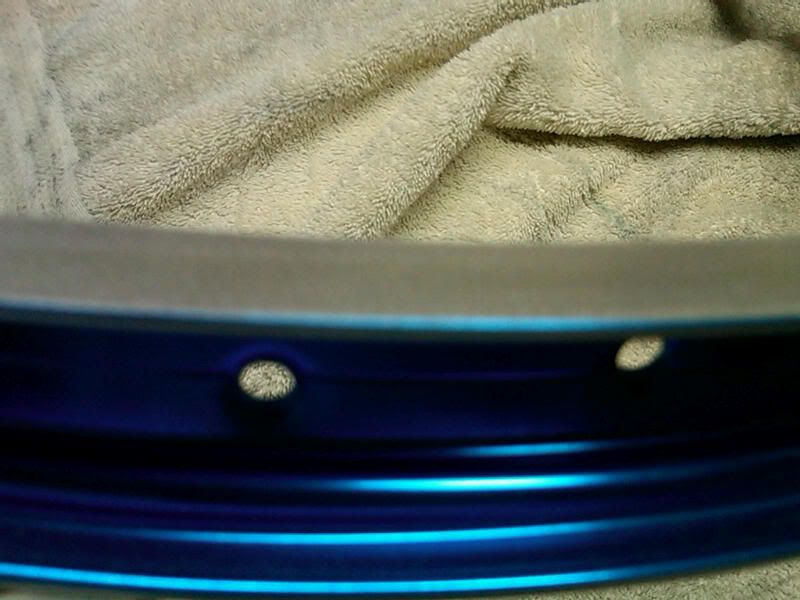
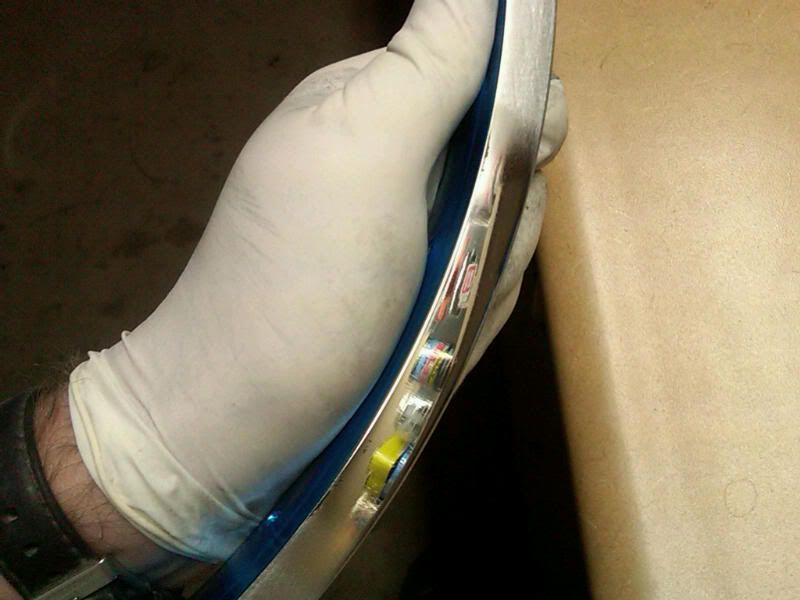
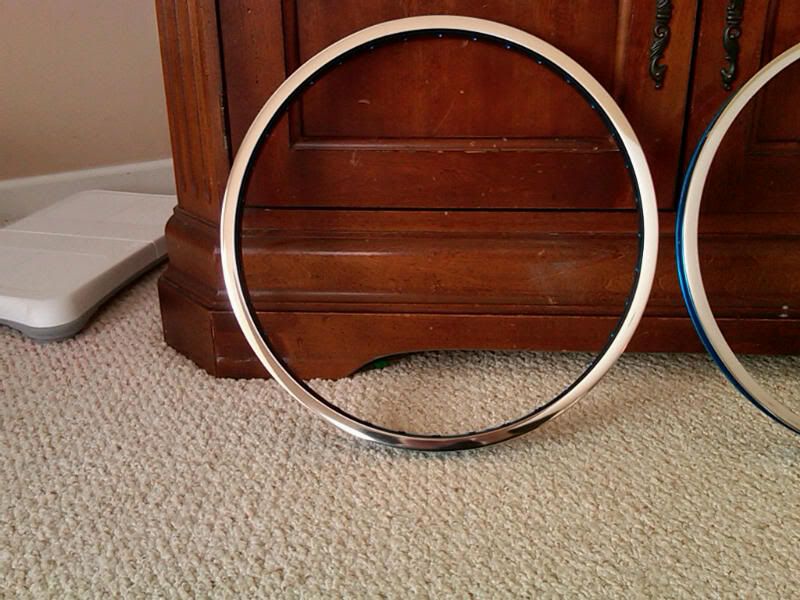
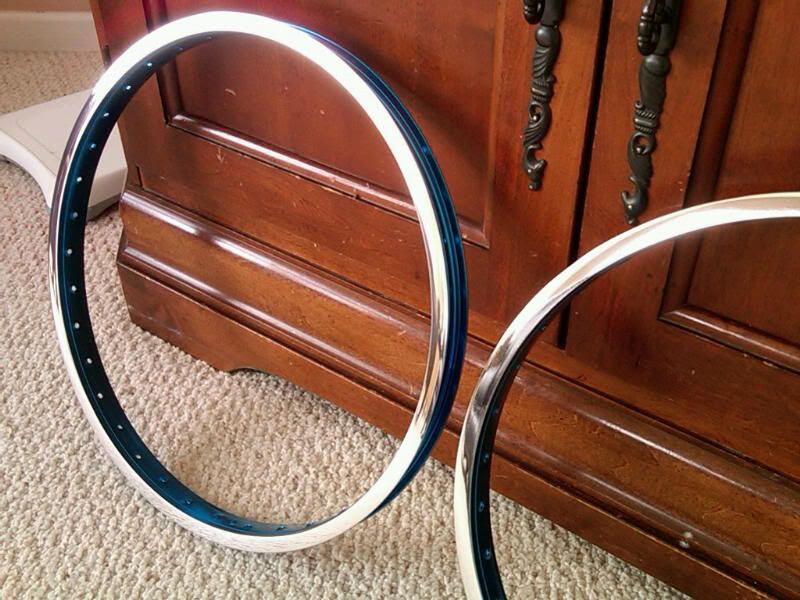
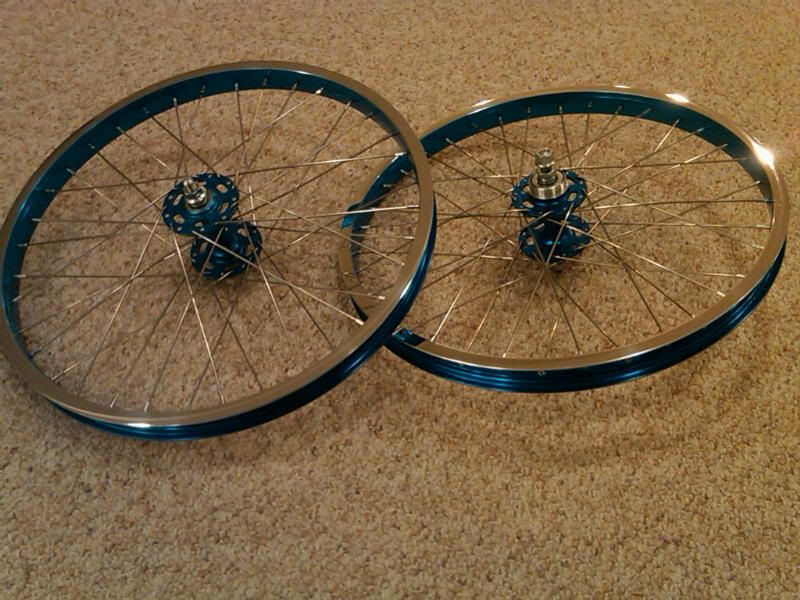
Finished Pics....
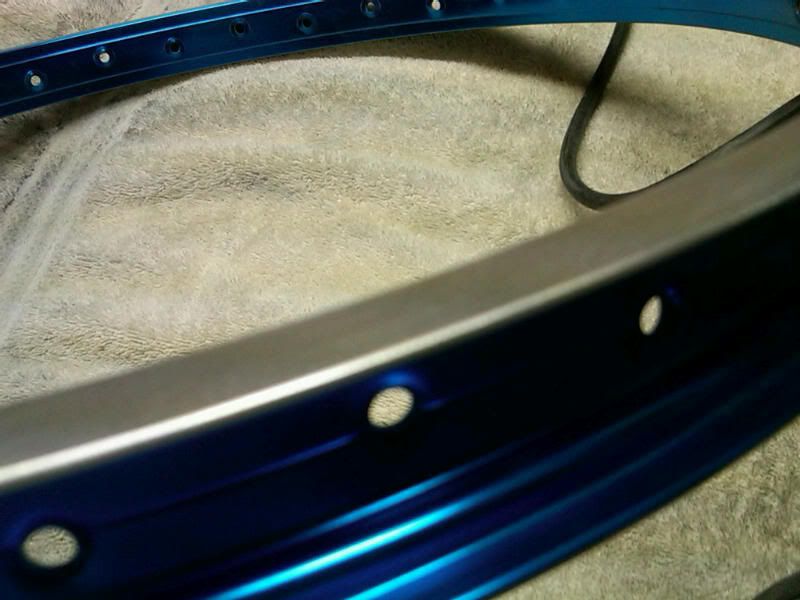
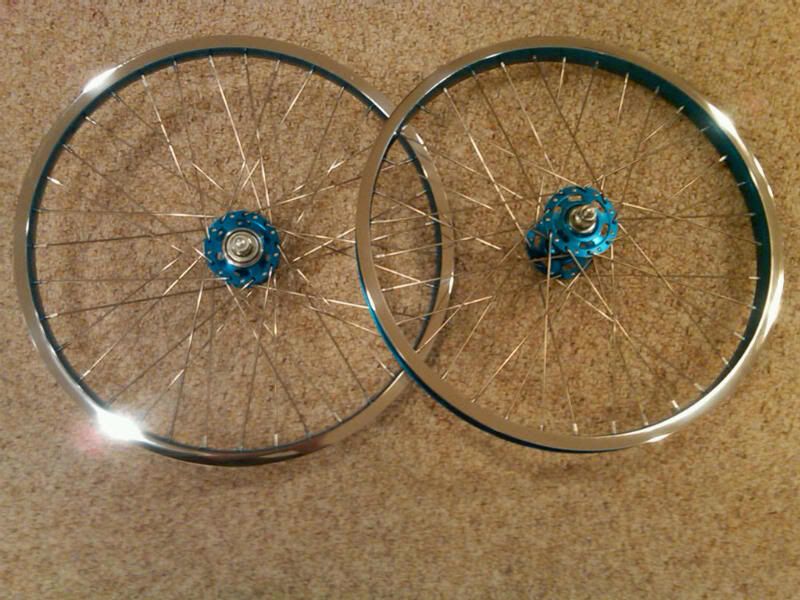
And finally, a couple of pics of the complete wheels:
Thanks To Jlewis of the Museum