I posted this on the burner sites and thought that some of you may like to see as well :wink:
Have finished Phils skyway mags - bleach white and polish hubs (not easy to keep clean when polishing with the white mags )
pictures on how i got on +
some one on the other side asked about which nuts and bits go where - i thought i would also put it up on here as well to see if it can help any one as well
how i got them

don't know what the stain was ? hard to shift


then bleached


then polish hubs by hand

so take one polished hub with nothing in it

right now gently tap the bearing cup in place this has the bearing cage in there

now grab some grease and smear enough in there - cocktail stick pushes it between the bearings nicely (the word is c0cktail not sh!t stick)

now grab your nuts and bits :shock:


put your cone nut on the axle - this is how it looks, as in fits onto the bearings

on the front axle you need to have it the same length each side - the rear you have to play around with

next is your cone nut washer nut - this will tighten up against the cone nut - now each side will tighten up against the bearings - this has to be enough for the axle to spin and not wobble/knock, but not too tight that the bearing can't turn and wear away - now this is not the easy job that it sounds and one that you learn over time - the grease is fresh and will take a little time to warm up and spin faster - it is a good idea to return to the axle and nuts to check how loose it has become and if it needs tightening again
how to tighten - you need two tools that fit the cone nut and the washer nut - keeping the cone nut still with the tool turn the washer nut to tighten it - just before it comes to a stop turn the cone nut tool - this will stop it from crushing the bearings and allow a bit of slack (but not too much) you may have to undo and redo it a couple of time before you get it perfect (good luck)


now put on the washer and then the outer nut - you can see the gap and where the rear drop out will sit - you can put extra washers on the inside of the drop out to fill out, as not every frame has the same size at the back - size of axle / cone nuts / washers / nuts ~ can be different sizes to each build and set up

if you are sending out a set of wheels - do the nuts up to the hub or they can come loose and fall off and out of a hole in the box

get Alice to check them out
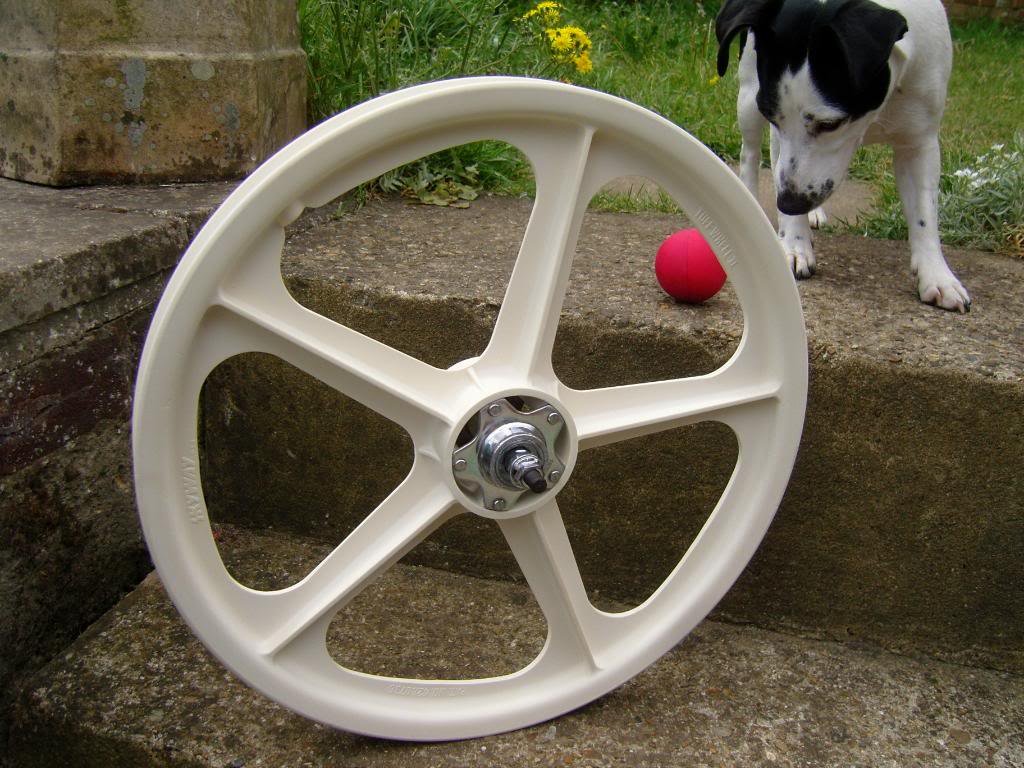
cloudy day - bugger as would look better in the sun


hope this helps all
cheers B